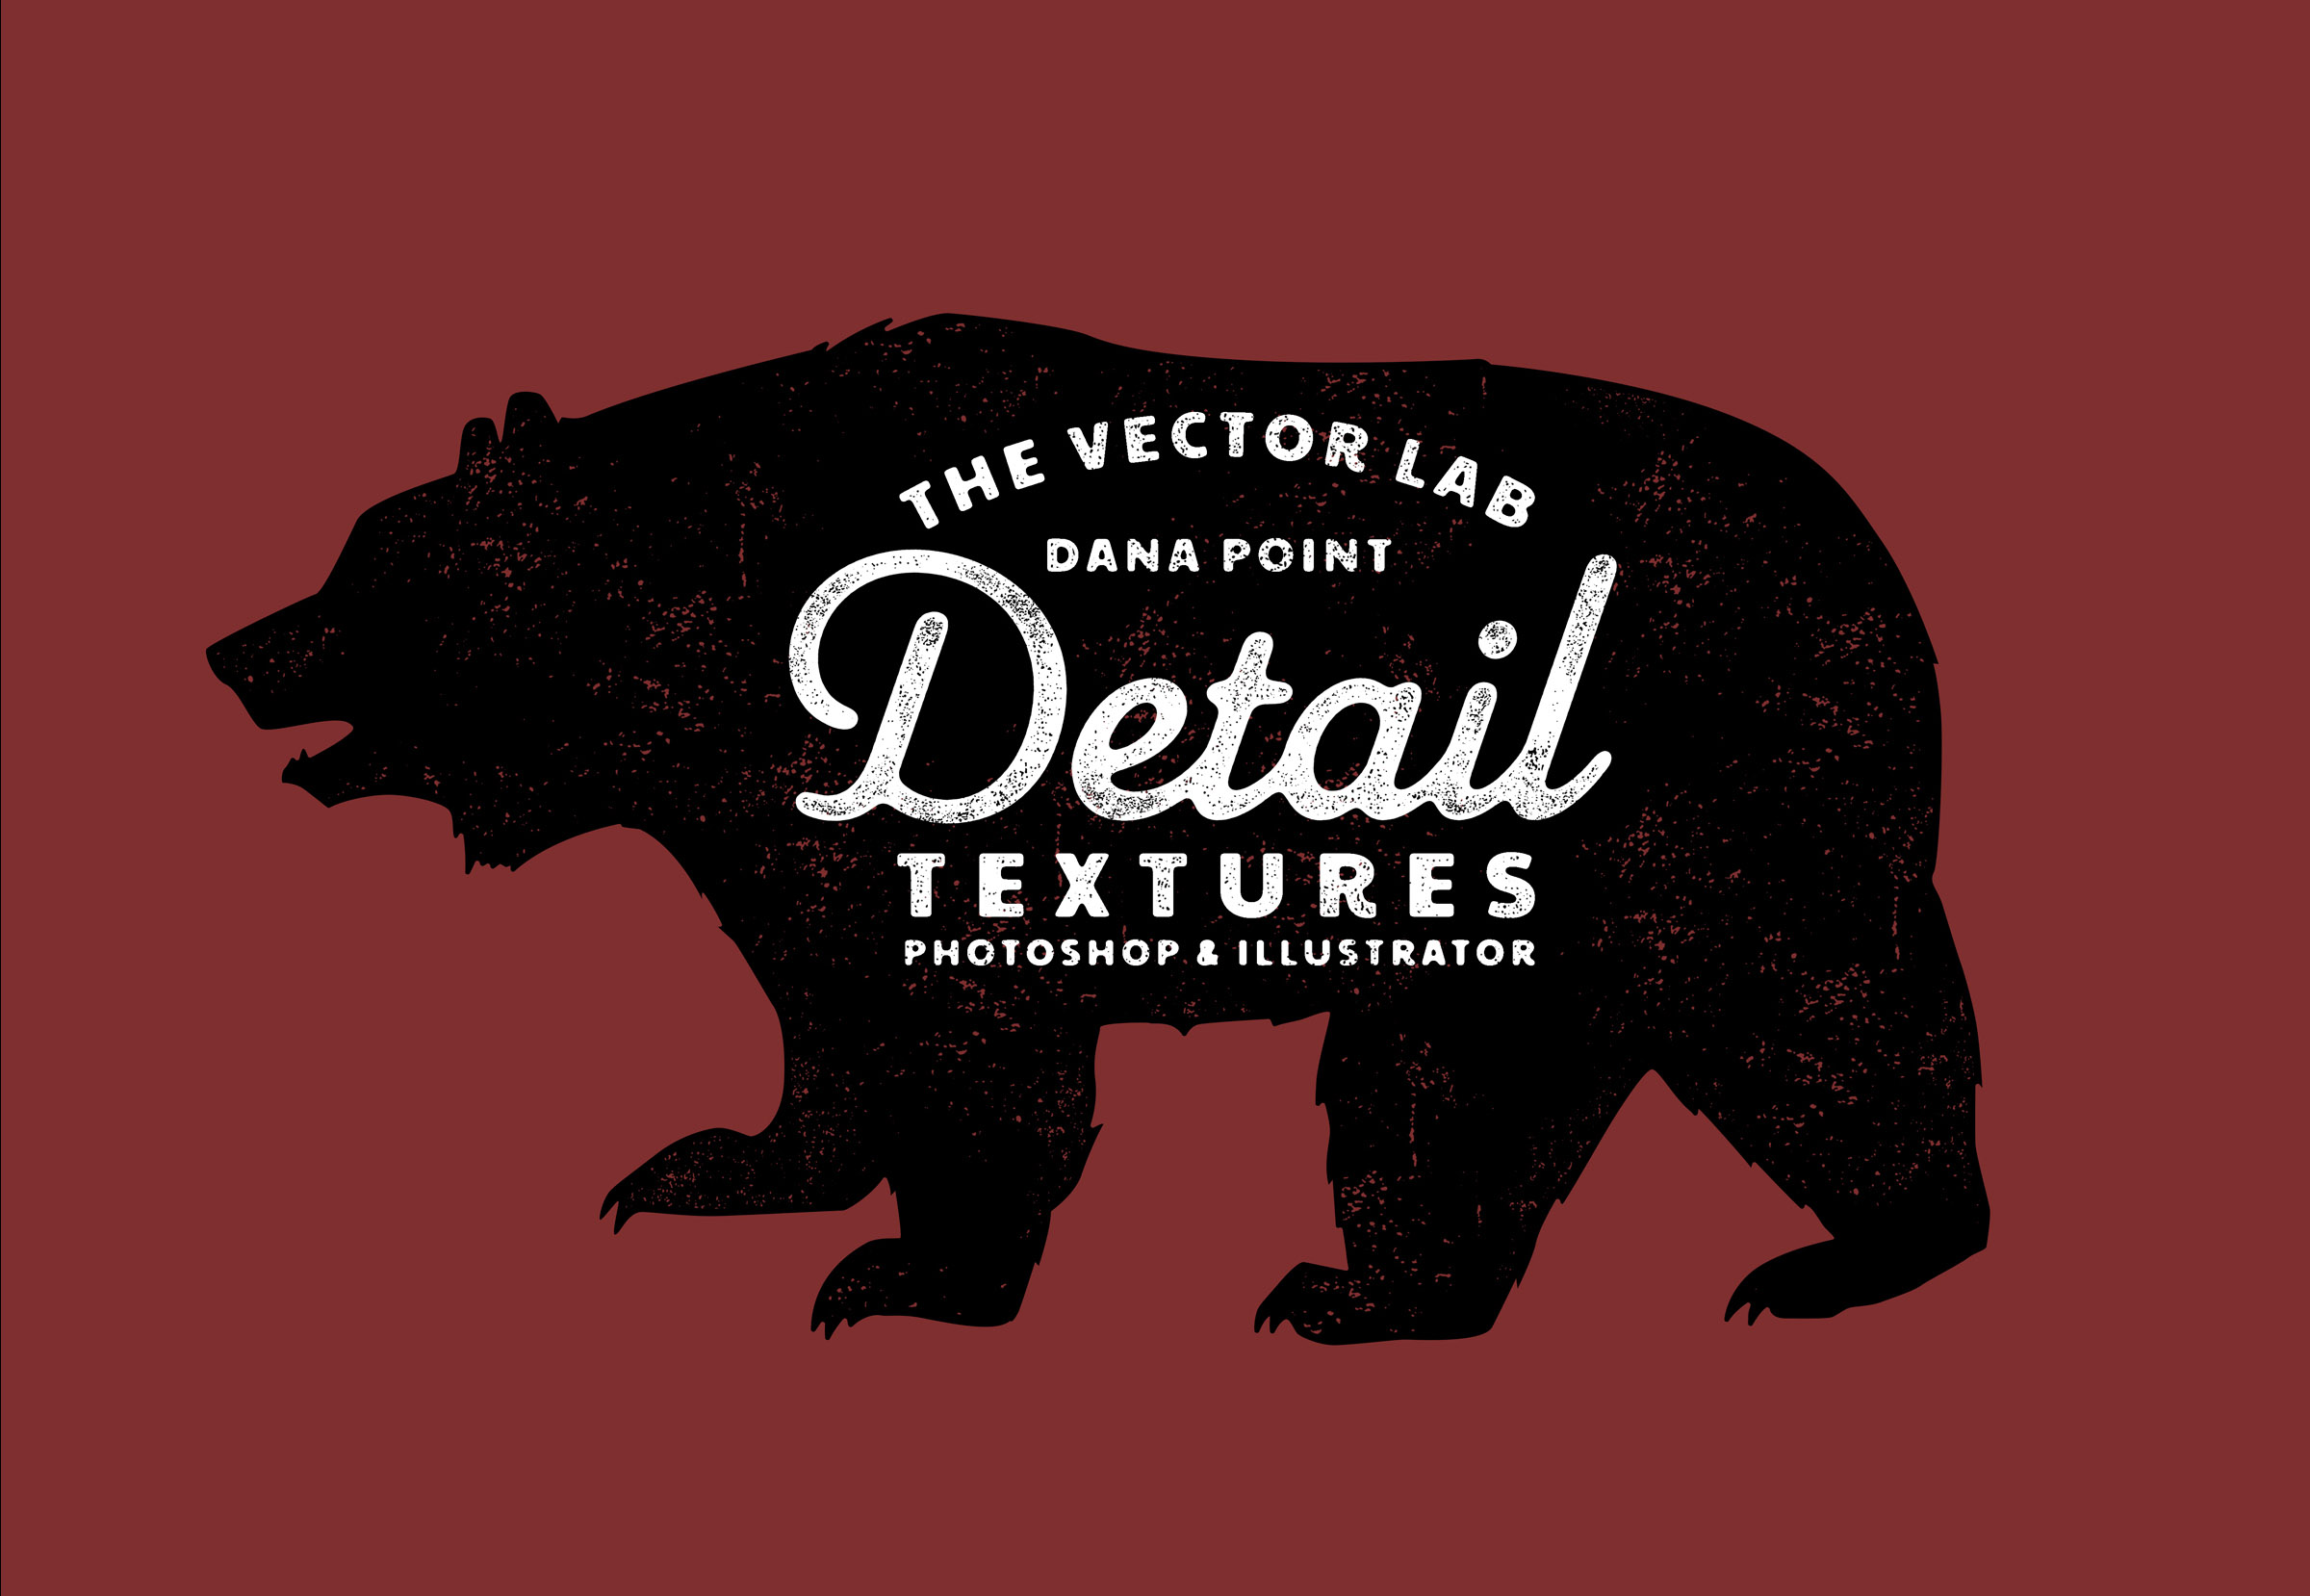
Texture Styles for Adobe Illustrator
Texture Styles are part of T-Shirt Design Master Collection 2.
Make your t-shirt graphics look like real screen prints with T-Shirt Squares
Using the T-Shirt Squares template in Photoshop.
Tutorial: Ink Stamp Effect in Illustrator
With the help of Every Day Textures for Illustrator, Photoshop, and Affinity.
The Every Day Textures Collection is also included in T-Shirt Design Master Collection.
Luxury Grunge Textures
Did you know: Luxury Grunge Textures are also part of T-Shirt Design Master Collection 2, a huge bundle of t-shirt design resources.
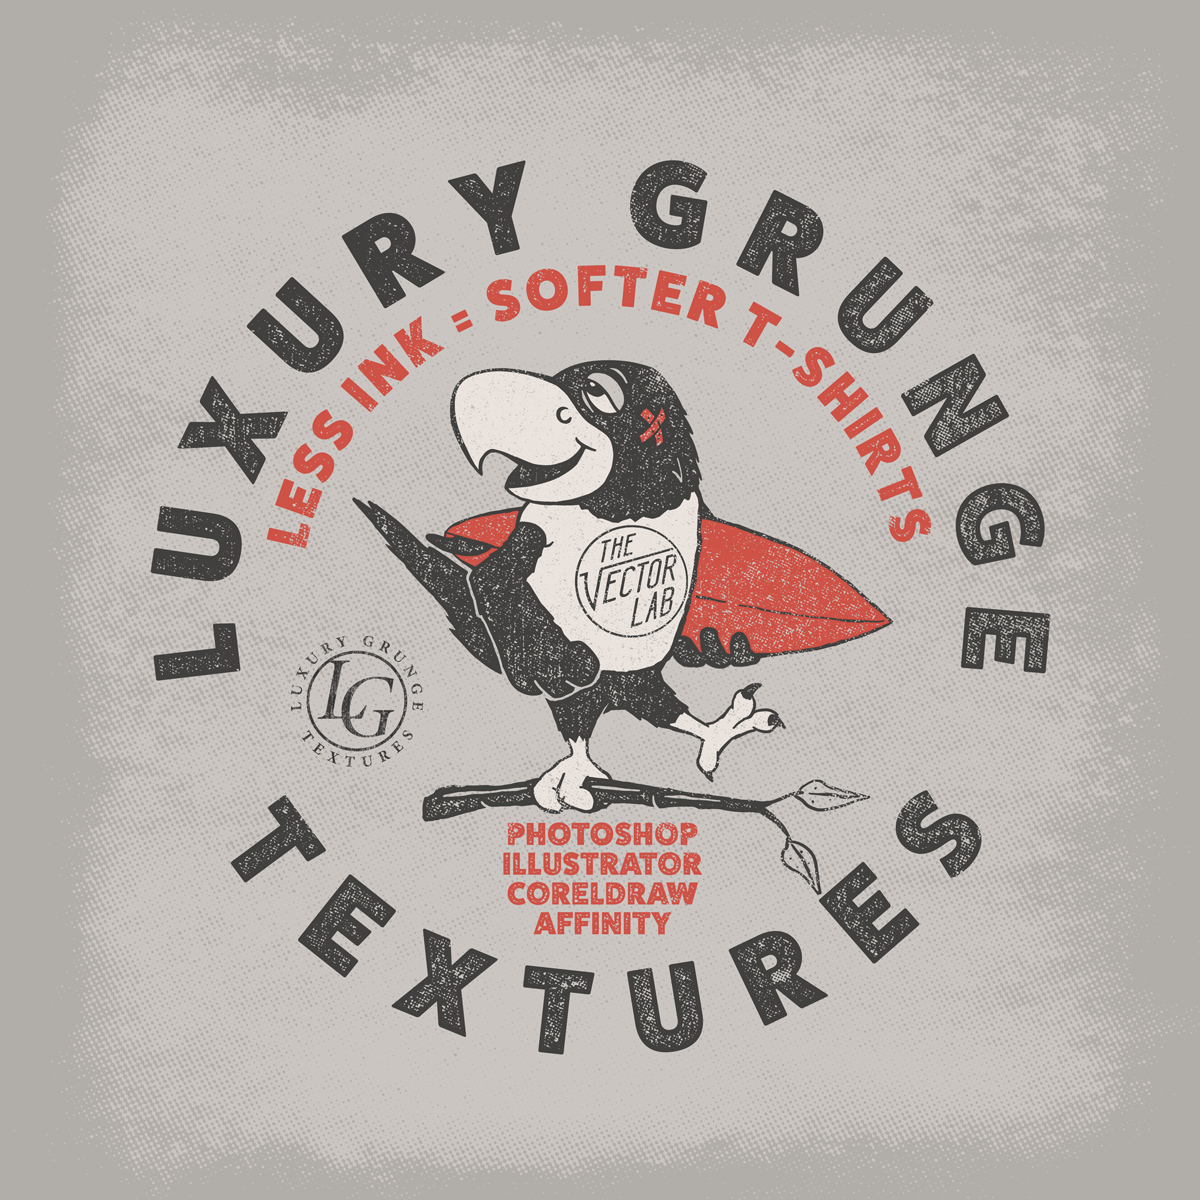
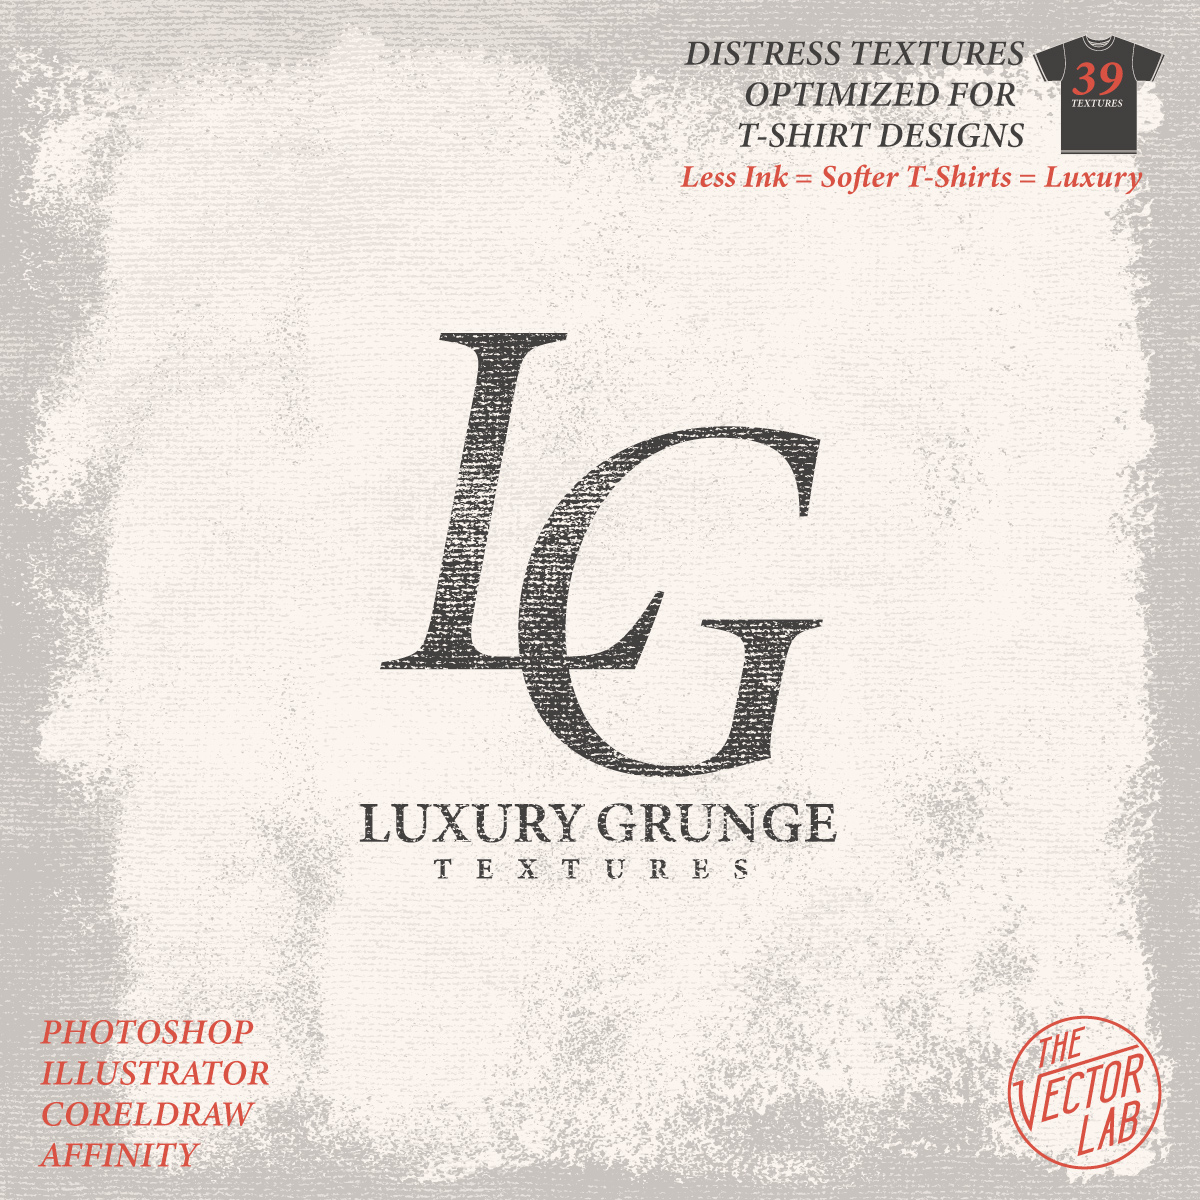
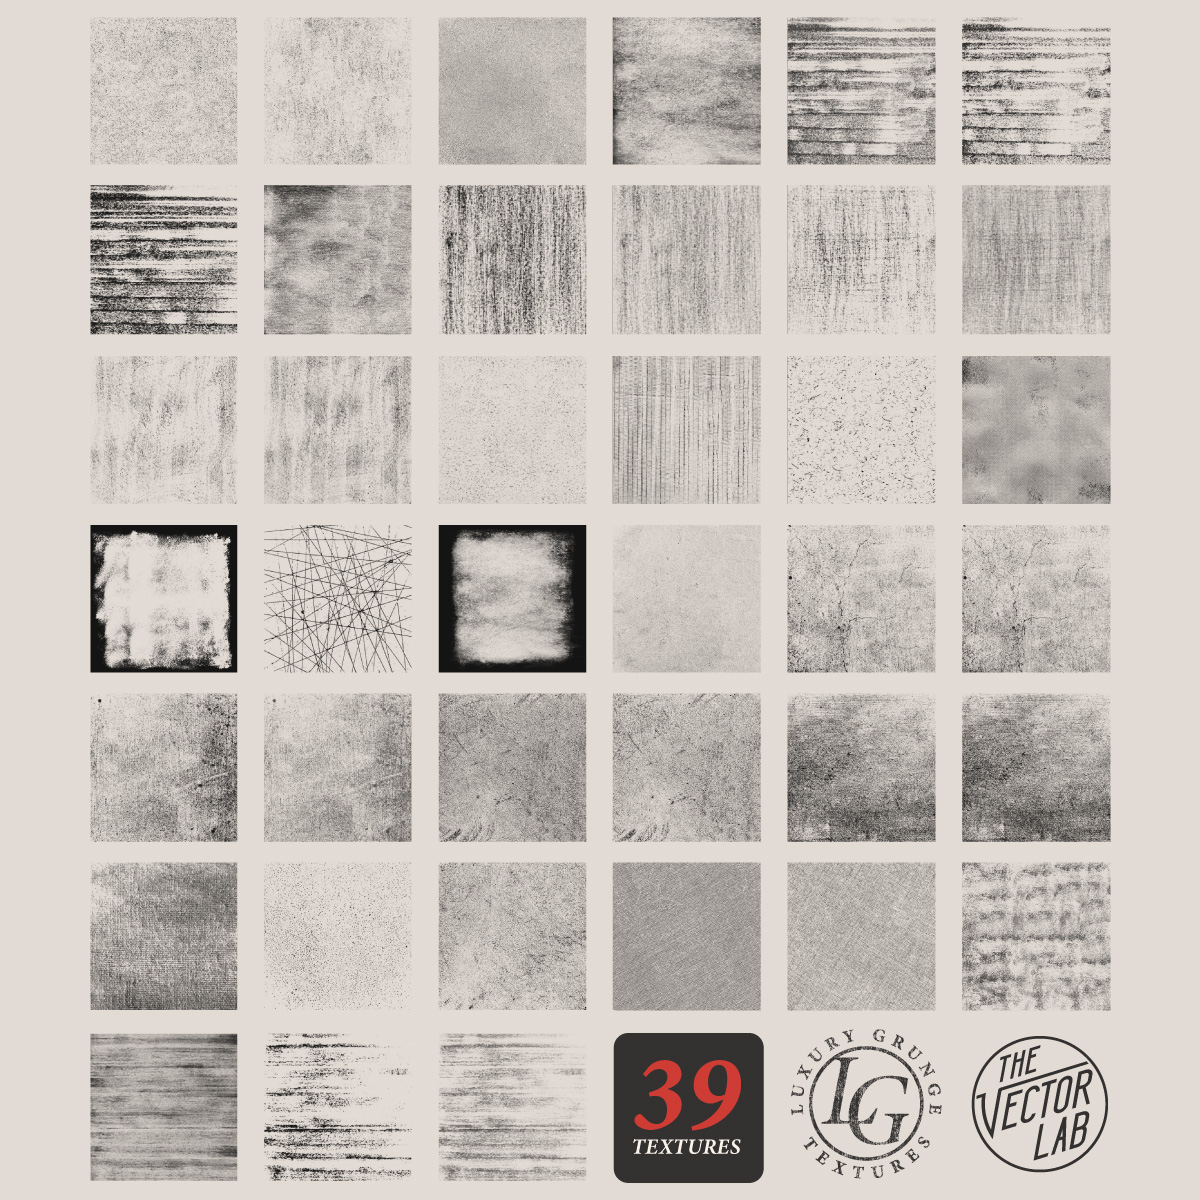
What are Luxury Grunge Textures?
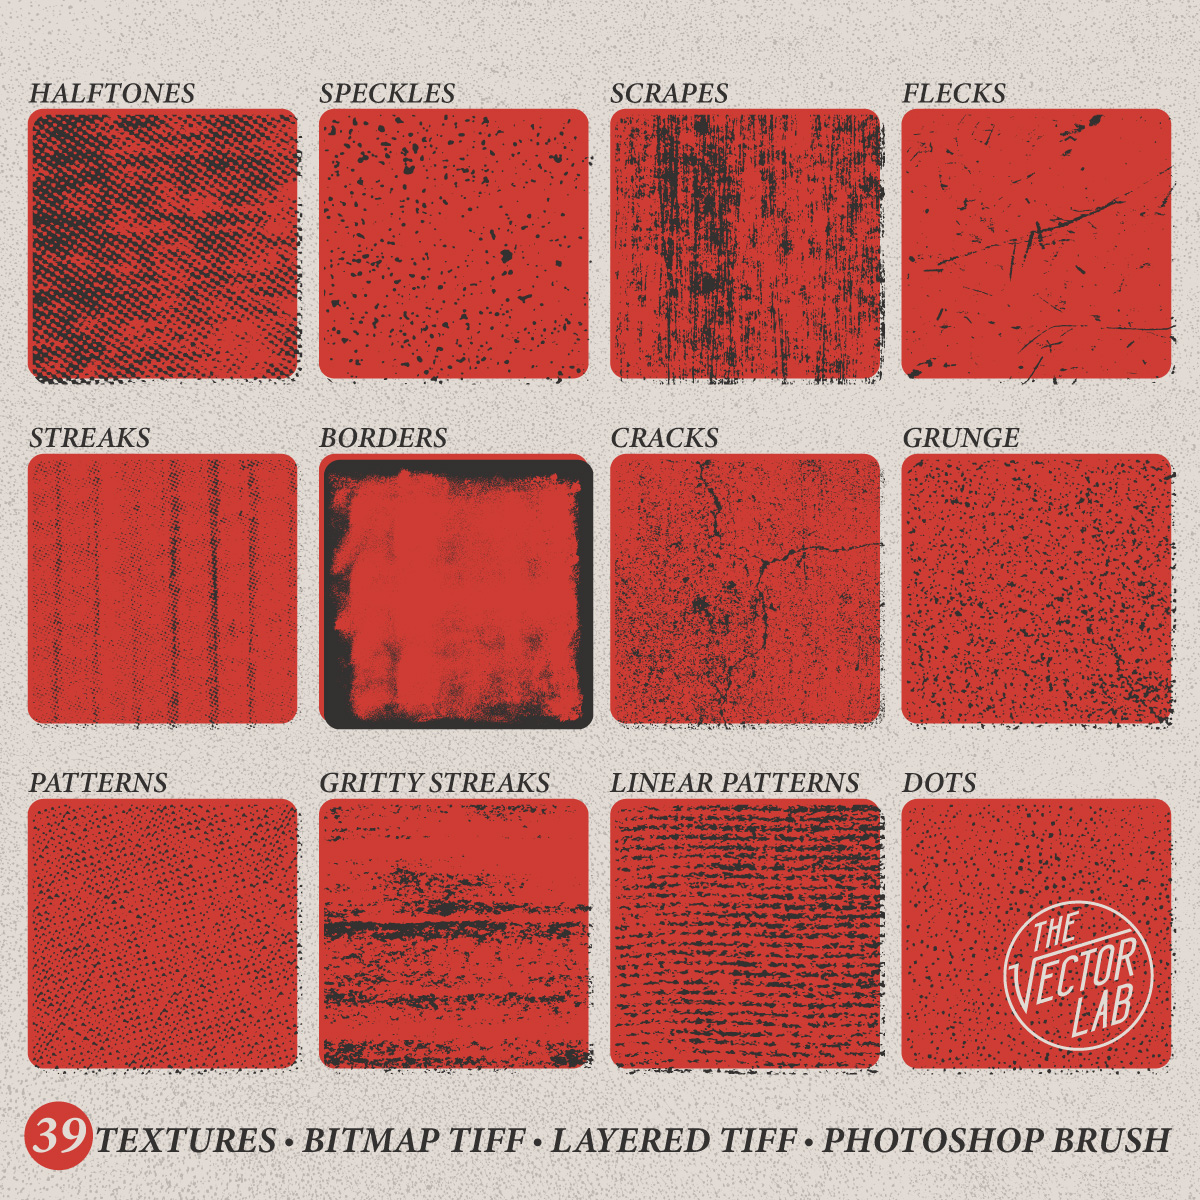
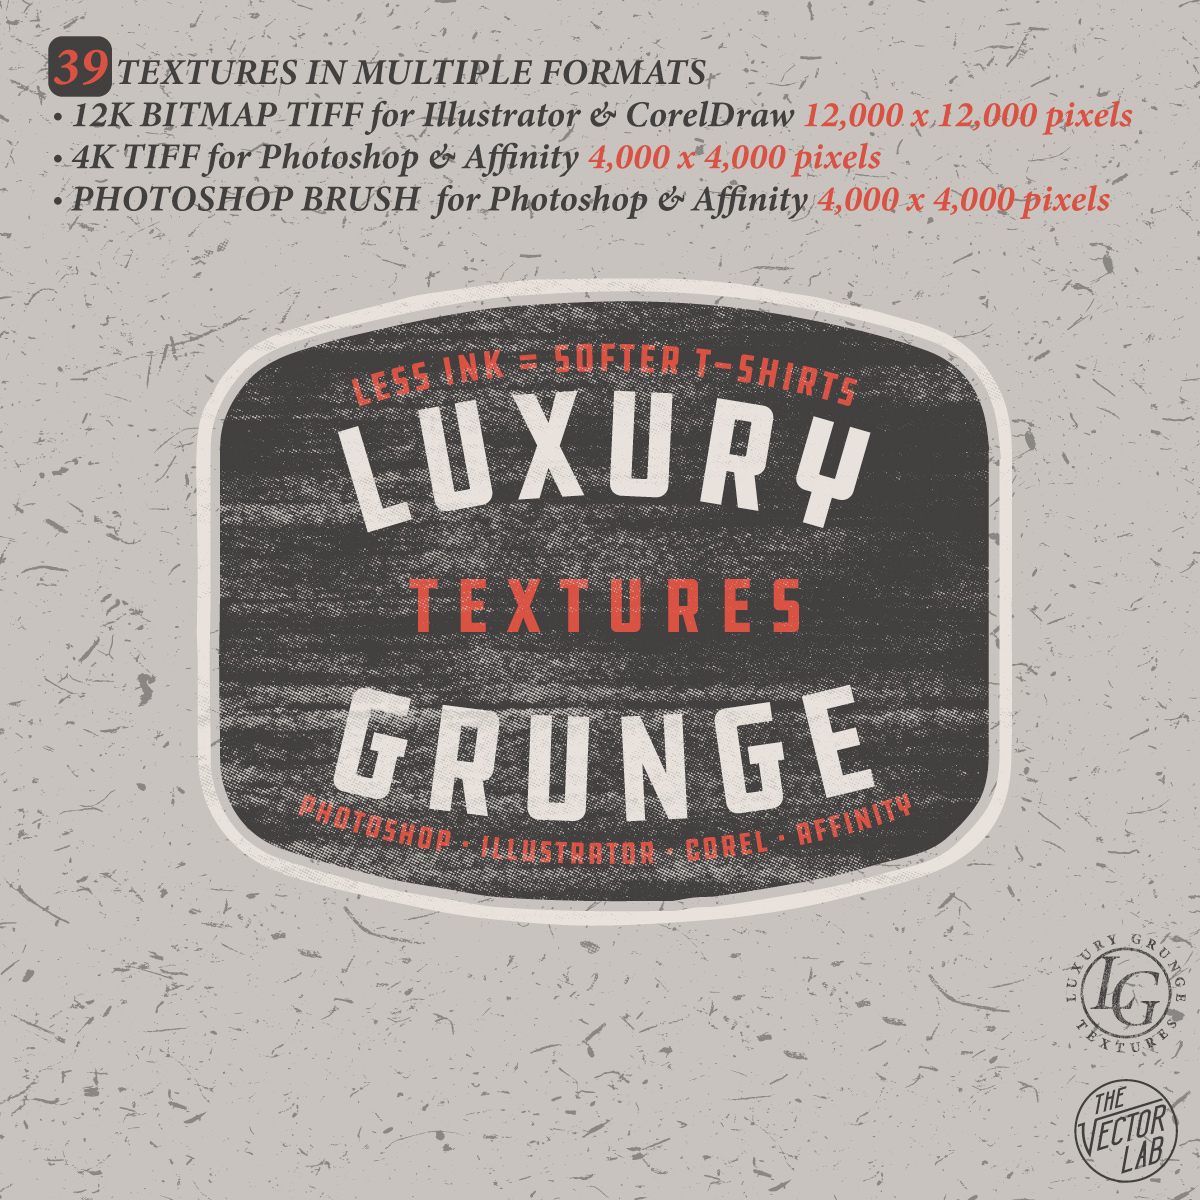
This is a collection of 39 gritty and grungy textures that are perfect for your designs, logos, lettering, and illustrations in Photoshop, Illustrator, Affinity, or CorelDraw.
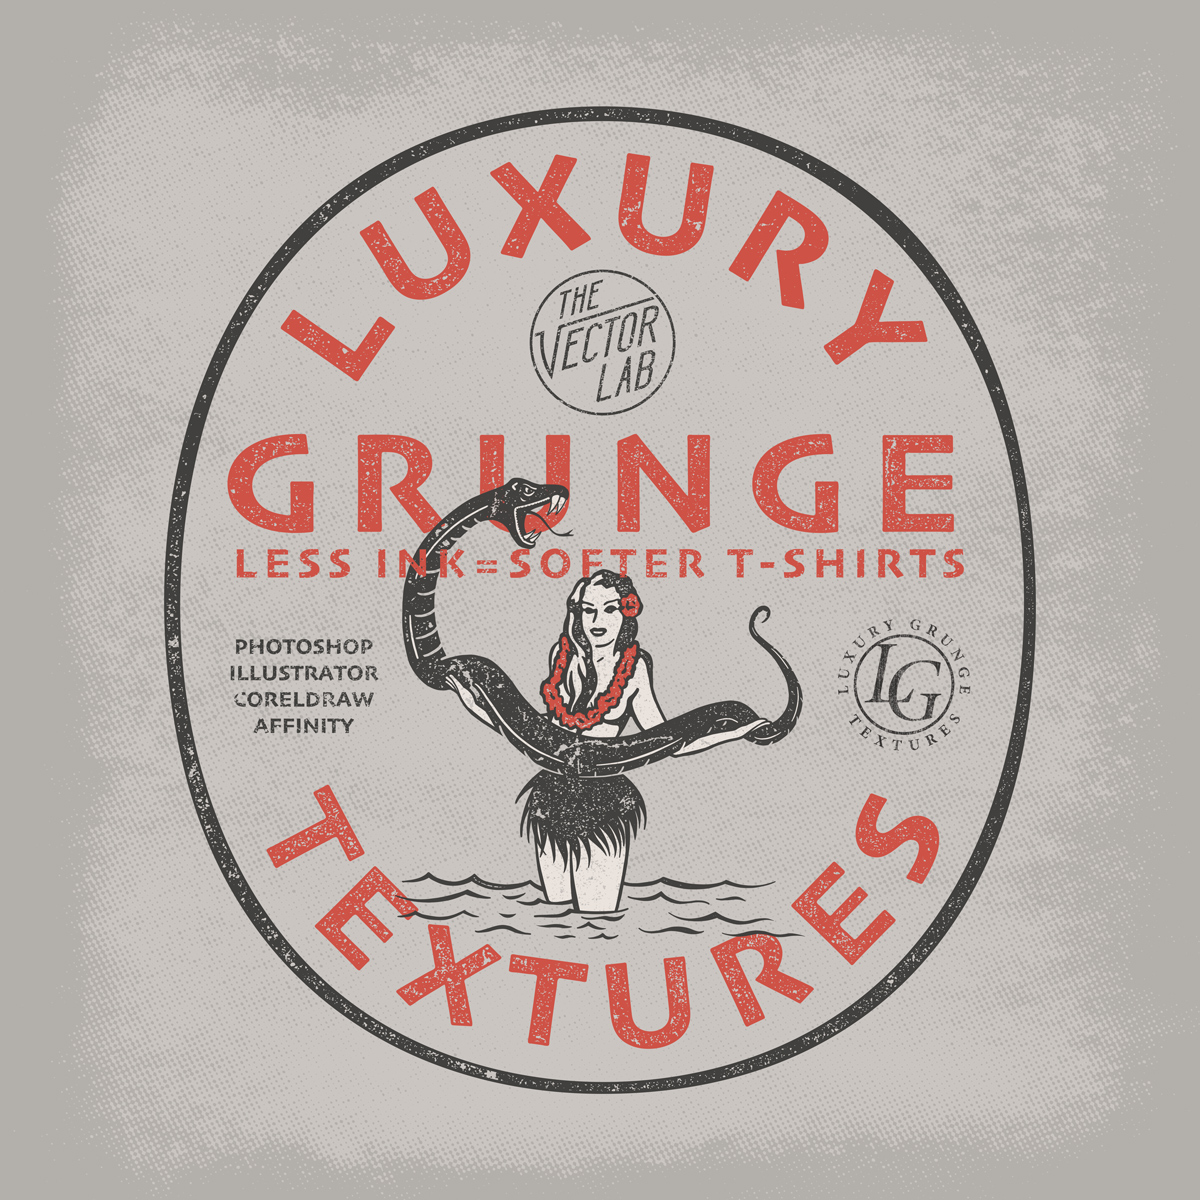
I get the "Grunge," but where does the "Luxury" come from?
Optimized for t-shirt designs. Adding this kind of texture means less ink, resulting in softer, more luxurious t-shirts!
Will the textures work for designs other than t-shirts?
Absolutely. They will work with anything you can dream up in Illustrator, Photoshop, CorelDraw, Affinity Designer & Photo, and almost any other graphic design software.
How to use the textures:
• Photoshop Brush - Load the brushes into Photoshop, Affinity Designer, or Affinity Photo. Select a brush, choose a color, and paint texture right into your design. 4000 x 4000 pixels. Extra versions for all versions of Photoshop CS through CC.
• Regular TIFF - Perfect for use in Photoshop and Affinity Photo. 4000 x 4000 pixels.
• BITMAP TIFF - Ultra high resolution: 12,000 x 12,000 pixels. Best for Adobe Illustrator.
These files are ideal for screen print production & color separations using Illustrator because they have no greyscale; only black or white pixels. When viewed in Illustrator, Bitmap Tiff files have automatic transparency and can easily be assigned any color.
T-Shirt Design Master Collection 2
The newest sequel to the Original T-Shirt Design Master Collection is here! A huge bundle collection of T-Shirt Design Resources, Templates, Textures, Workshops & Tutorials.
And the best part: It's STILL GROWING!
One new product will be added to this bundle each month in 2018! Everyone who purchases will receive monthly email notifications with links to download the newest items added to this bundle (at no extra charge).

T-Shirt Design Master Collection 2 currently includes the following items:
APPAREL MOCKUP TEMPLATE COLLECTIONS
Make your t-shirt designs look real in Illustrator, Photoshop, CorelDraw, and Affinity Designer.
TEXTURES
Add texture to your designs in Illustrator, Photoshop, CorelDraw, and Affinity Designer.
Lava Lamp Textures (Added January 16, 2018)
HALFTONE GRADIENTS & PATTERNS
Use these vector gradients to add a color fade to your logos, lettering, t-shirt designs and illustrations in Illustrator, Photoshop, CorelDraw, and Affinity Designer.
"AUTOMATOR" SMART PSD's
Paste your designs into these Photoshop templates for instant effects.
Halftone Automator (Photoshop only)
Distressed Border Automator (Also includes Vector Borders for Illustrator, CorelDraw, and Affinity Designer)
VECTOR ELEMENTS
Start your t-shirt designs with these vector elements.
BITMAP & RASTER SHAPES
Excellent for making logos and designs in Illustrator & Photoshop.
TYPE
FULL LENGTH T-SHIRT DESIGN COURSES
Online Instruction, Tips & Techniques. Watch any time.
INSTRUCTIONS
9 Product Tutorial Videos Showing how to use the textures & templates.
T-Shirt Design Workshop 3: Using Photos and Type
How Hawaii, surfing, and old cars come together in a freelance t-shirt graphic:
In this one hour workshop, we’ll cover:
How to find and apply inspiration
The various analog and digital tools you will need to create t-shirt designs.
How to move seamlessly between Photoshop, Illustrator, and the Procreate App for iPad so your designs come out as good or better than you had initially imagined
Type layout using Adobe Typekit fonts in Illustrator
How to incorporate hand-drawn effects into a computer-based design
As a bonus you will also receive:
All working Photoshop and Illustrator files demonstrated in this class
A Photoshop texture brush for you to use with your designs
A custom Procreate App brush for you to use with your designs
What are the requirements?
Students should have some prior knowledge of Photoshop and Illustrator. Skills such as how to scan images into Photoshop, an understanding of layers, and how to size images. This is not a basic entry level course for Photoshop and Illustrator.
Curriculum (video lectures)
Introduction (01:23)
Tools and Materials (05:54)
Pinterest (06:10)
Ideation Sketching (02:01)
Starting in Photoshop (19:03)
Adobe Illustrator (18:14)
Procreate App for iPad Pro (11:29)
Ending with Photoshop (07:41)
Wrapping Up (00:47)
Top 4 Resources inside T-Shirt Design Master Collection
The T-Shirt Design Master Collection is my largest bundle of t-shirt design resources: 64 t-shirt mockup templates, 605 textures for Photoshop and Illustrator, 25 logo templates, as well as T-Shirt Design Workshops 1 & 2.
My favorite resources are:
4) Ink Stamp Automator for Photoshop
Just copy & paste your design into this template to apply an instant ink stamp effect. Perfect for adding some interest to otherwise plain & simple logos or lettering.
3) Plastisol 1 & Plastisol 2 Vintage T-Shirt Textures
These cracked ink "Plastisol" textures will make your t-shirt graphics look washed & worn like and old vintage tee. Plastisol textures are ideal to add a "thrift shop" look to your real-life t-shirt screen print designs, as well as your digital portfolio. Photoshop and Illustrator compatible.
2) Men's T-Shirt Mockup Templates & Women's T-Shirt Mockup Templates
Making your t-shirt designs look real is the best way to show your designs before sending them off to be printed. These templates will help your clients and customers visualize your designs. You can even change the fabric color, add a custom neck label, and warp your graphic to match the wrinkles in the fabric. These templates are formatted for Photoshop and Illustrator, but also work with CorelDraw and Affinity Designer & Affinity Photo.
1) T-Shirt Design Workshop 1 & T-Shirt Design Workshop 2
Learn how to design a t-shirt like a pro. More than 3.5 hours of t-shirt design theory & instruction
T-Shirt Mockup Templates in Affinity, CorelDraw, Photoshop, & Illustrator
Good news for Affinity Designer, Affinity Photo, and CorelDraw users! My apparel mockup templates can be used in Adobe Photoshop, Adobe Illustrator, Affinity Designer, Affinity Photo, and Corel Draw!
Men's Apparel Mockup Templates
Women's Apparel Mockup Templates
Photoshop Tutorial
Illustrator Tutorial
Affinity Tutorial
Affinity Designer does not have a displacement map function (to warp your graphic). But all other mockup features work.
Affinity Photo, however, DOES have a displacement map function. It works best if you apply it to your graphic with a subtle amount of warping.
CorelDraw Tutorial
The Adobe Illustrator AI versions of the templates can be opened in CorelDraw. This applies to all of my men's & women's apparel mockup templates, except for Apparel Mockup Templates Variety Collection (because they are Photoshop only).
All mockup features work, except for the displacement map warping. CorelDraw has a displacement map feature, but I haven't been able to get reliable enough results to recommend this feature.
If you are interested in apparel mockup templates, I recommend ordering the Men's and Women's All-In-One Bundles:


Tutorial: Add Texture to Graphics in Adobe Illustrator - The #1 Method
This video shows how to use Opacity Masks in Adobe Illustrator to add texture to your t-shirt designs, logos, and lettering. It also covers how to export your design as a transparent PNG, which is a preferred file format for Direct-to-Garment (DTG) printing, Print-on-Demand (POD), and Amazon Merch.
Resources discussed
In case you missed it, here's a video showing how to use textures, layer masks, and brushes in Adobe Photoshop.
Tutorial: How to add Texture to Designs in Photoshop
Use Photoshop brushes and Layer Masks to add texture to T-Shirt Designs, Logos, and Lettering.
Halftone Automator
Halftone Automator (a "smart PSD" template for Photoshop) will add vintage-style halftone effects to your designs, logos, and typography.
This template takes plain designs and instantly knocks a transparent halftone pattern right through your design.

How Halftone Automator Works:
1) Just paste in your Pixel or Vector design to the designated Smart Object layer.
2) Choose from 47 different halftone patterns, then you are done!
What's included:
The Halftone Automator Photoshop PSD template (4000 x 4000 pixels).
47 built-in halftone patterns with various dot sizes and density.
Quick Start Guide PDF instructions.
The effect works best if you paste in a design that is on a transparent background. See video with tips on how to adjust the halftone effect that is applied.
Ink Stamp Automator
Recently, I created a new texture template for Photoshop to save time applying texture to logos, lettering, and t-shirt designs. It's something I've been using in my own freelance design work. And it’s a big time saver.
This new template is called the Ink Stamp Automator.
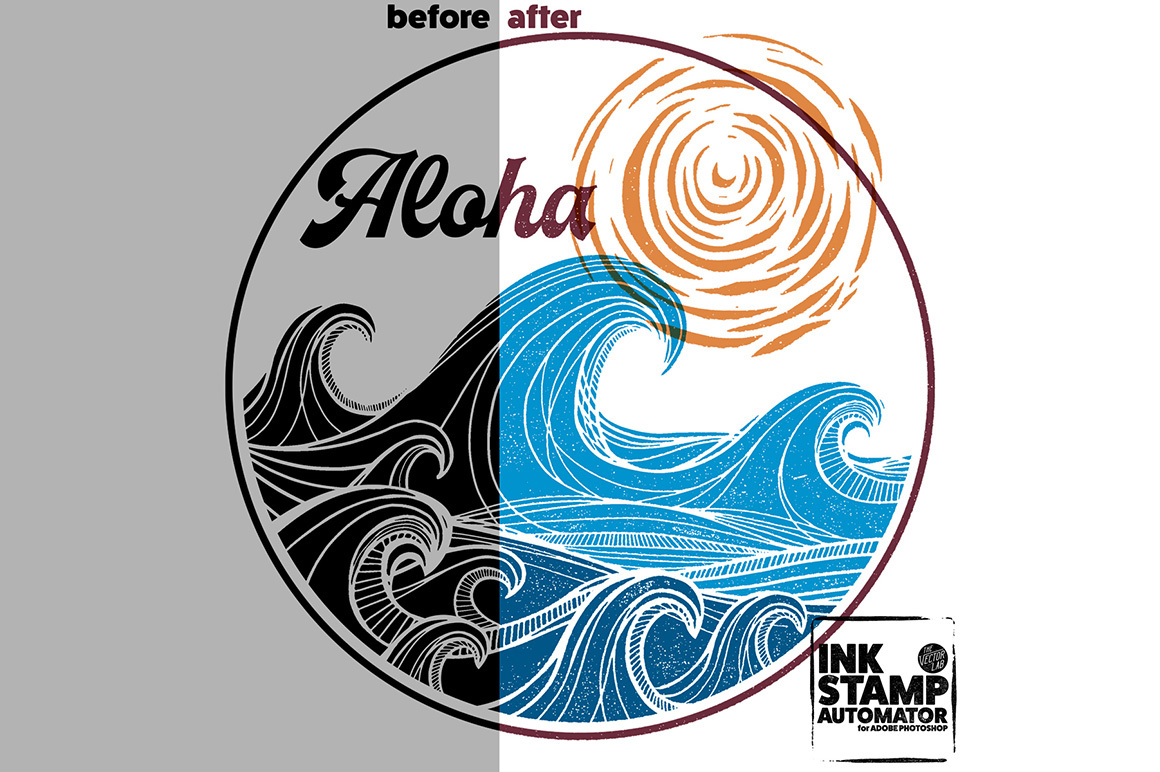
This template allows you to apply an instant Ink Stamp (or woodblock / linocut print) look to your designs in Photoshop.
Even if you aren't specifically looking for an ink stamp look, it's a great way to add some interest and texture to your designs.
Go here to see some examples of what you can do:

How Ink Stamp Automator Works:
1) Just paste in your Pixel or Vector design to the designated Smart Object layer.
2) Choose from 42 different ink stamp textures, then you are done!
What's included:
The Ink Stamp Automator Photoshop PSD template (4000 x 4000 pixels). 42 built in textures.
Quick Start Guide PDF instructions.
9 Ink Stamp Shapes. These are ink stamp circles, squares, and rectangles that will help you create logo shapes (see video).
42 stand alone ink stamp textures in LAYERED TIFF format (4000 x 4000 pixels). Perfect for power users who want to dig in and fine-tune the textures.
42 stand alone ink stamp textures in BITMAP TIFF format (12,000 x 12,000 pixels). These are great for designers who want to use the textures in Adobe Illustrator.
Fishing T-Shirt Designs
T-shirt designs for some salty fishing & surf brands!
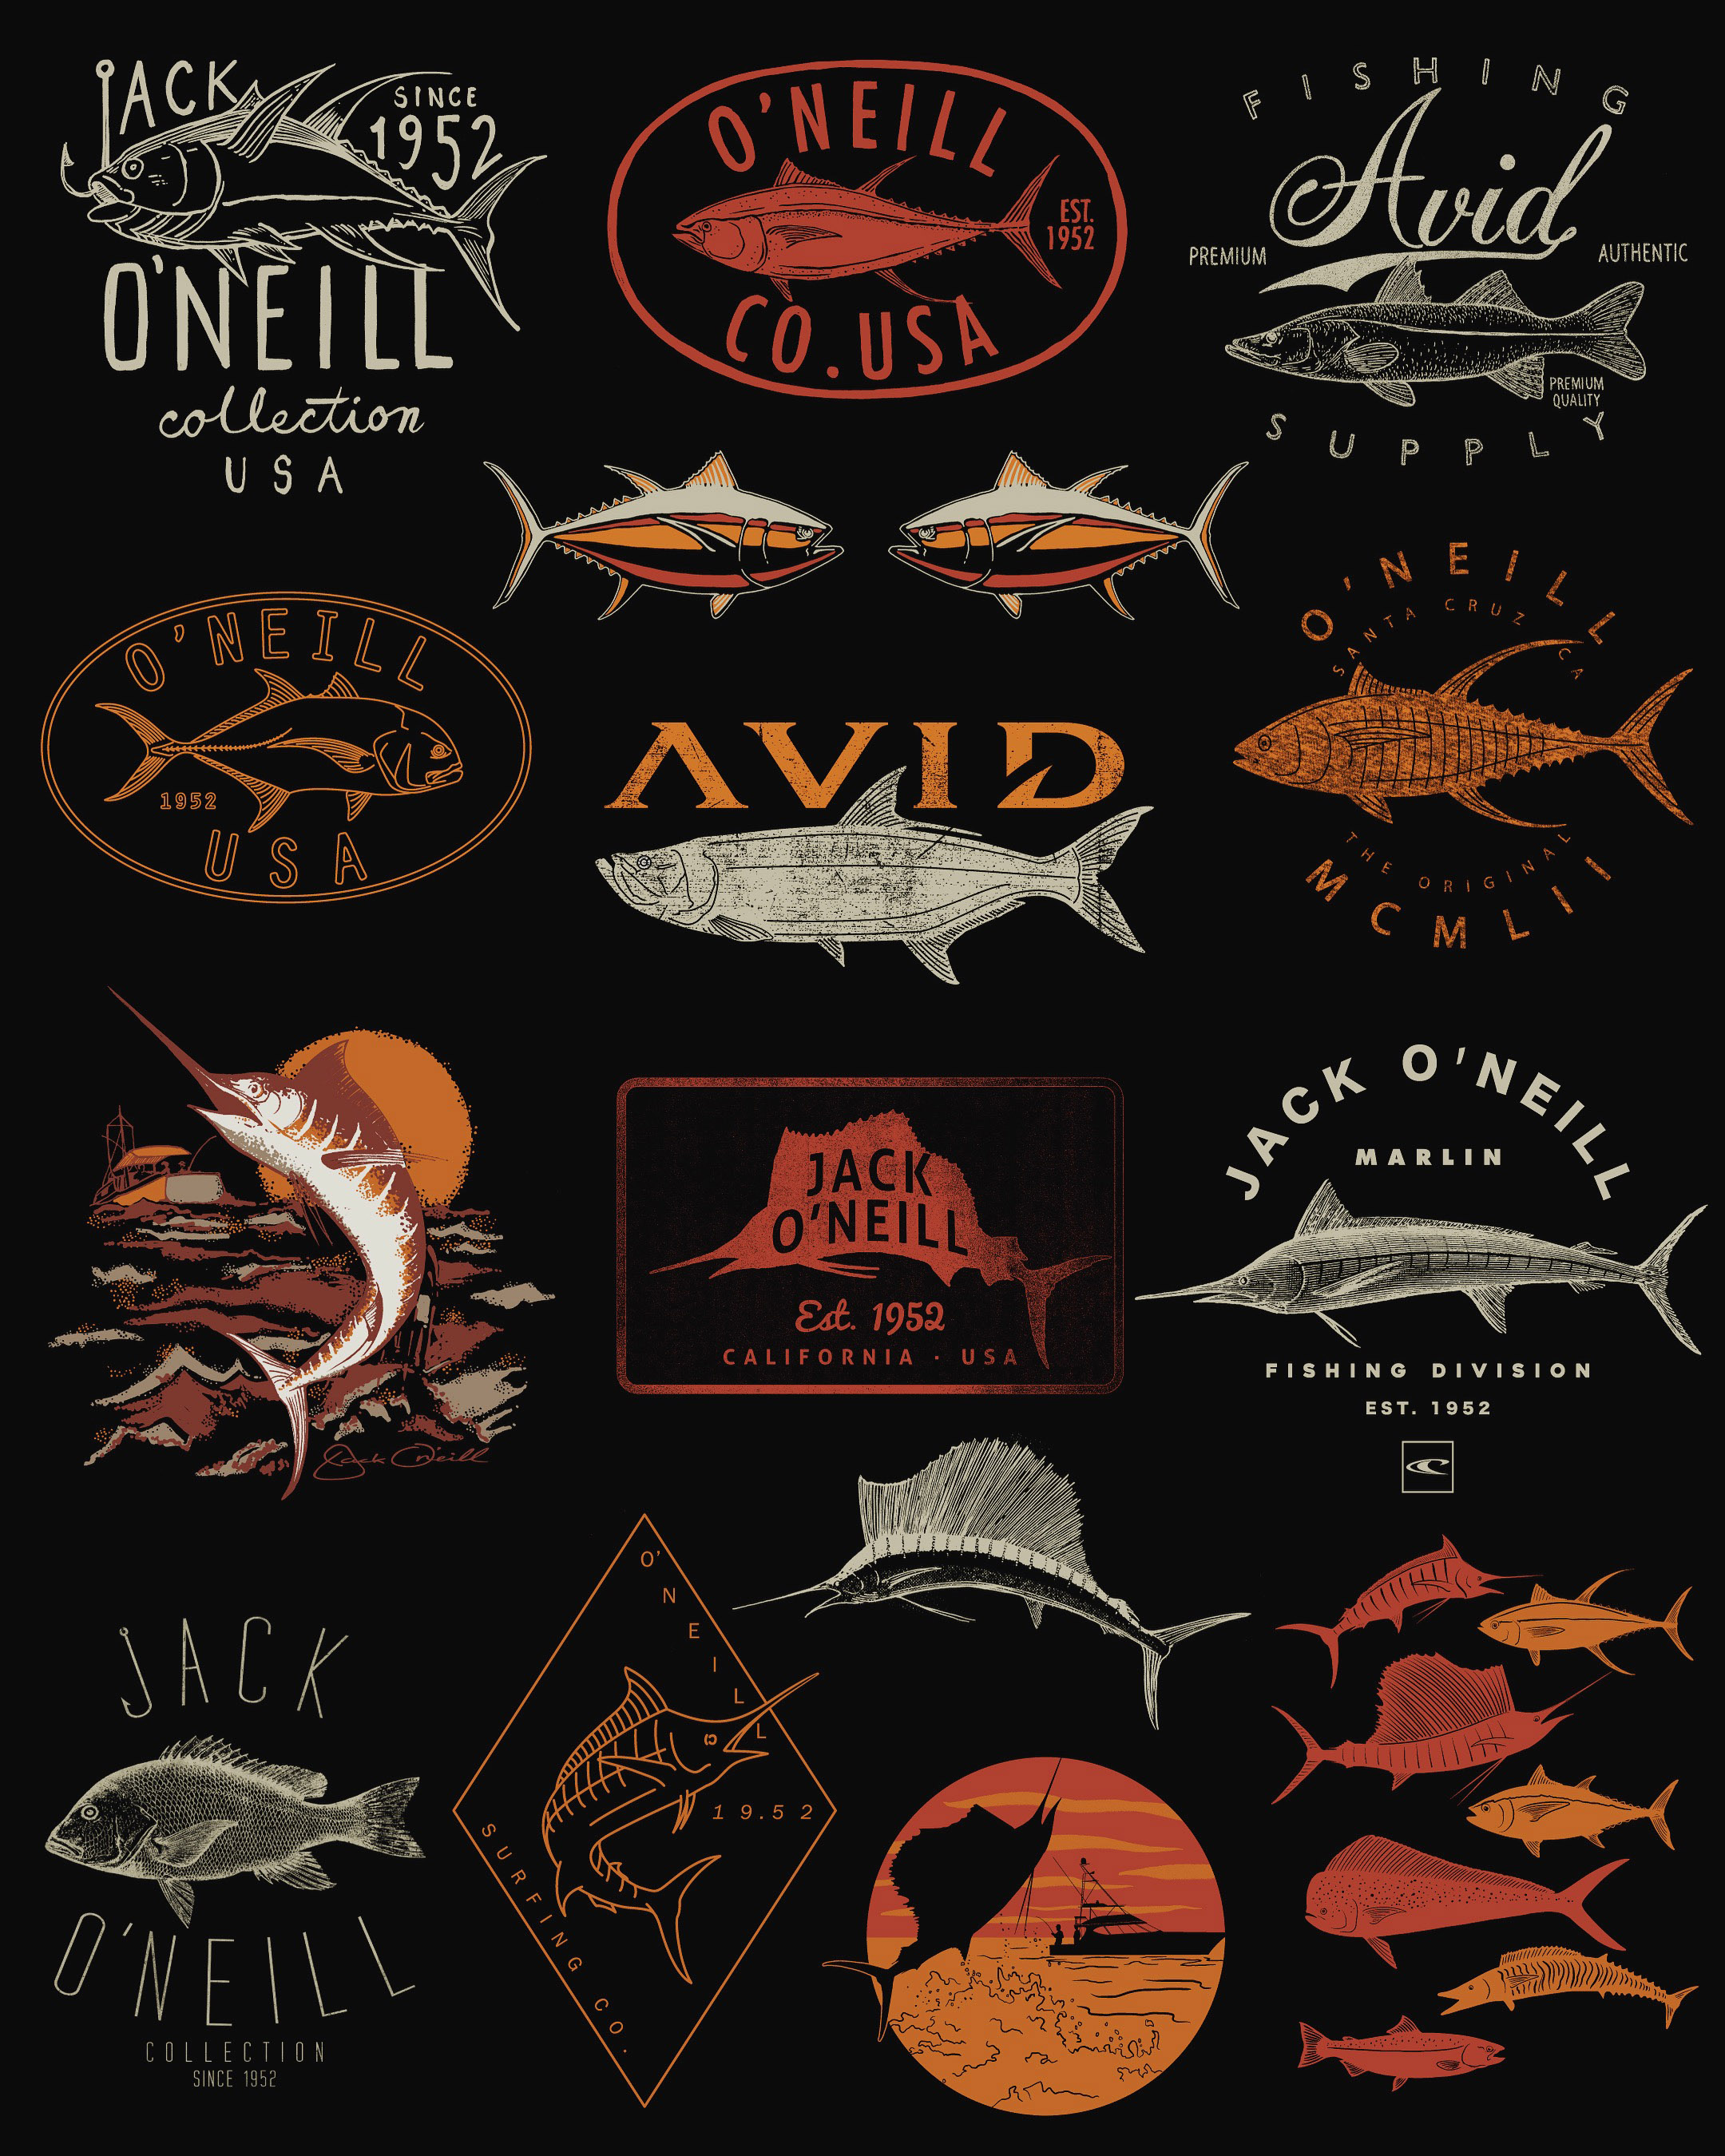
Tools used: Adobe Illustrator, Adobe Photoshop, iMac, iPad Pro, Apple Pencil, Procreate App, Ink Stamp Automator, T-Shirt Design Master Collection.
Plastisol Cracked T-Shirt Ink Textures
Make your t-shirt designs look washed & worn with Plastisol Textures for Photoshop and Illustrator!

What is Plastisol, and what does it have to do with Vintage T-Shirts??
Plastisol Ink is a type of Screen Printing Ink that was first used to screen T-Shirts in the 1970's. When you look at Vintage Clothing, it's the ink that cracks and flakes over time as the t-shirt gets washed, stretched out, and worn to too many Def Leppard concerts.
Plastisol is why real Thrift Shop T-Shirts look Vintage!

How easy is it to add vintage texture to your own designs? Have a look at the tutorial videos.
PHOTOSHOP PSD: The most versatile format. Power users can easily go in and adjust the textures to their liking.
BITMAP TIFF: Use the "Opacity Mask" method (shown in the Plastisol 2 tutorial) to knock transparent texture through your raster & vector designs in Adobe Illustrator (yes Illustrator)!
PHOTOSHOP BRUSH: Super easy to use. Just double-click on the .abr file and these brushes will load into your Photoshop Brushes Palette. Select a brush, and click to paint in your vintage texture!
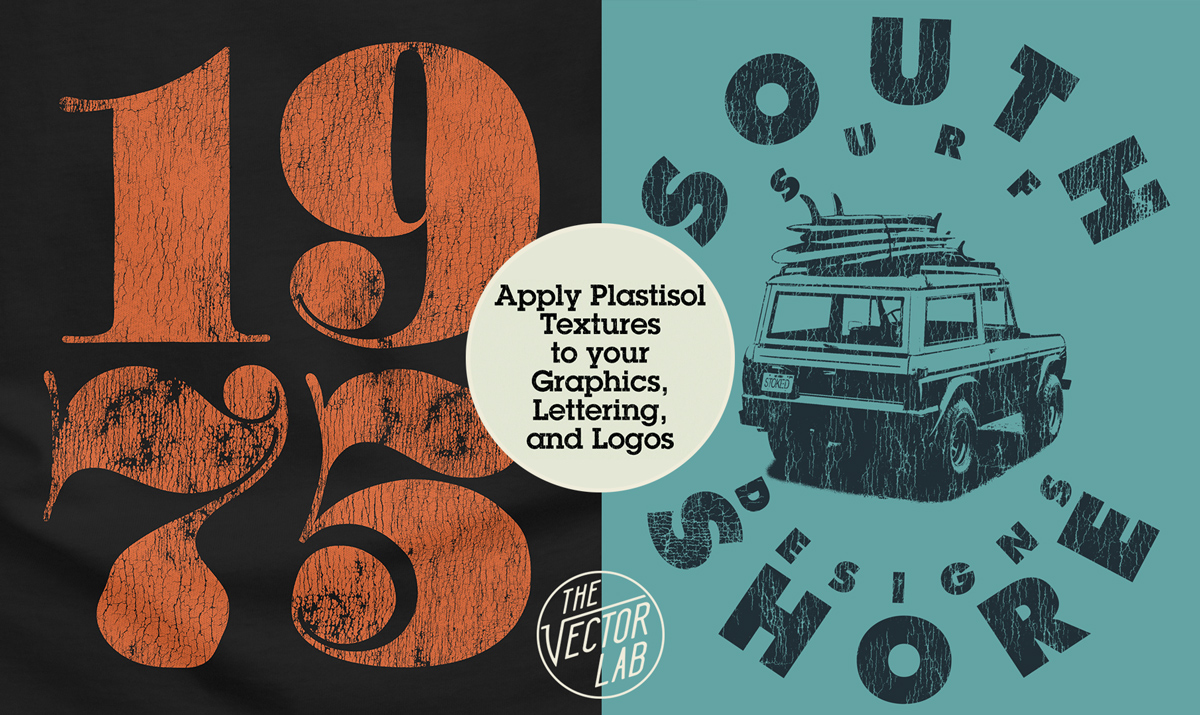
So what's the difference between Plastisol 1 and Plastisol 2?
The short answer is Plastisol 1 Textures are FASTER. Plastisol 2 Textures are highly CUSTOMIZABLE.
